Remote Camera Access
View live cameras and available recordings through supported apps or software. Access depends on compatible equipment, permissions and a working internet connection.
Explore surveillance installation →

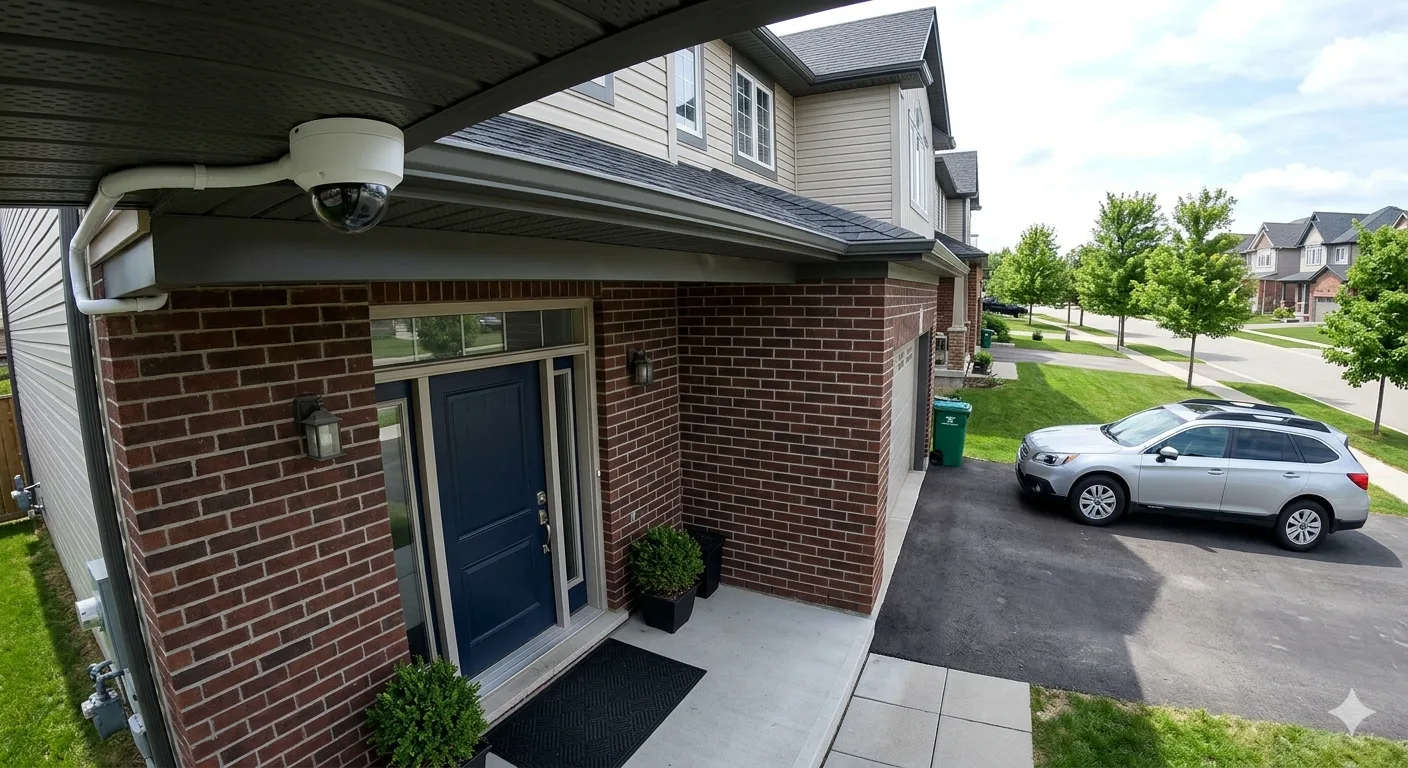
Connected security for your property
Stay connected to your property with remote camera access, event alerts and monitoring options designed around your site, equipment and agreed service plan.
Understand your options
A useful monitoring setup starts with clear requirements: which areas matter, who needs access, when events should be reviewed and what action is agreed for an alert.
View live cameras and available recordings through supported apps or software. Access depends on compatible equipment, permissions and a working internet connection.
Explore surveillance installation →Discuss supported detection features, alert recipients and activity zones. Configure suitable settings around your property's layout and normal activity.
Explore IP camera installation →Discuss event review, monitoring schedules, escalation contacts and response procedures. Confirm the included services and responsibilities before starting a plan.
Discuss a monitoring plan →Define the service clearly: App access and automated alerts are different from professional event review. Monitoring hours, supported equipment and response arrangements should be specified in your agreed plan.
Plan around your property
Camera coverage and monitoring requirements vary by property. Identify the areas and hours that matter before choosing equipment, detection settings and a service plan.
Discuss entrance coverage, stock areas and activity outside opening hours. Plan user permissions so authorized staff can access the views relevant to their responsibilities.
Explore commercial camera installation →Review vehicle entrances, loading bays and storage zones. Lighting, camera angles and normal site traffic help determine useful detection areas and alert schedules.
Explore video surveillance installation →Discuss changing layouts, equipment storage and perimeter views. Check suitable power, connectivity, mounting positions and weather-rated equipment for the site.
Explore outdoor camera installation →Plan access to entrance, driveway and garage views. Keep cameras focused on appropriate areas and choose notification settings that fit household activity.
Explore residential camera installation →Set clear expectations
A clear scope connects the camera setup with how events are handled. Agree on access, schedules and responsibilities before the service begins.
Identify supported cameras, recorders and software. Review whether your existing setup can be used or needs changes.
Specify the hours and days covered, including any different arrangements for weekends, holidays or temporary site closures.
Define relevant activity, camera zones and supported detection rules. Review settings when lighting or site activity changes.
Agree on notification recipients, contact order and event-handling procedures. Confirm any response services included in the plan.
Discuss recording location, available storage and access permissions. Set expectations for playback and exporting available footage.
Review internet and power requirements, outage limitations and who handles connection or equipment faults.
Already have a camera system? Share the camera and recorder models with your site requirements to discuss compatibility and monitoring options.
Discuss Your Existing System →From activity to action
For a plan that includes professional event review, agree on how supported alerts move from detection to review, notification and documentation.
Supported equipment generates events using configured detection zones and schedules. Results depend on camera views, lighting and settings.
Where included, events are reviewed using the available camera view and site instructions to help determine the agreed next step.
Use the agreed contact order and escalation procedure. Define who receives notifications and which response actions are included.
Agree on any event records or reporting provided. Revisit detection settings and instructions when the site's layout or activity changes.
Match the workflow to your plan: Confirm monitoring hours, event review coverage, communication methods and response responsibilities. Camera alerts alone do not establish that someone is actively reviewing them.
Build on the right setup
Before choosing a monitoring plan, review the equipment, camera views and connection. Existing systems may be suitable, need adjustments or require selected upgrades.
Identify camera and recorder models, supported software and access methods. Check which features can work with the proposed monitoring arrangement.
Explore IP camera installation →Review the areas that matter, available detail and views after dark. Obstructions, glare and changing site conditions can affect how useful a camera view is.
Explore surveillance installation →Check remote access, recording and known equipment faults. Discuss power and internet dependencies before relying on the system for remote event review.
Explore camera troubleshooting →Start with your equipment details Send the camera and recorder models, your city and the areas you want monitored. Keep passwords and private footage out of the enquiry.
Discuss Monitoring Compatibility →A more useful camera setup
A well-planned setup can make camera access and event information easier to use. Choose the features that support your day-to-day needs and the monitoring scope you agree on.
Access supported live views and available recordings without visiting the recorder. Give authorized users access to the cameras they need for their role.
Use suitable detection zones and schedules to make alerts more relevant to your property. Review settings when normal activity or site conditions change.
An agreed contact and escalation plan gives event handling a defined path. Keep contact details current and confirm responsibilities for each included service.
Review recorded activity to understand an event when footage is available. Plan storage and export requirements around how the system will be used.
From requirements to setup
Start with the property and equipment, then define the service scope. Configuration and checks should reflect the access, detection and monitoring functions included in your plan.
Describe your property, priority areas, operating hours and who needs access. Include your city and any existing camera or recorder models.
Check compatibility, camera views and connection requirements. Identify any installation changes or equipment faults that need attention.
Confirm included features, monitoring hours, contacts and response procedures. Review setup costs and any ongoing charges before proceeding.
Set up agreed access permissions, supported detection rules and notifications. Check the included functions and event workflow before handover.
Review system use and support arrangements. Update authorized users, contacts and site instructions when staff or property requirements change.
Ready to discuss a monitoring setup? Tell us about your property and existing equipment to discuss suitable options and availability.
Request a Monitoring Consultation →Support your monitoring setup
Monitoring requirements may reveal a need for new coverage, compatible equipment or repairs. Explore the service that matches your property's current setup.
Plan camera positions, cabling and recording equipment when setting up a new system or extending coverage to additional areas.
Explore camera installation →Review network camera options, supported detection features and recorder compatibility as part of a connected surveillance setup.
Explore IP camera installation →Address missing video, recording issues or remote access problems before deciding how the existing system will support monitoring.
Explore camera troubleshooting →Find your location
Explore our city camera installation pages for local service information. For monitoring, share your property location and equipment details to discuss availability and a suitable plan.
Have a property in another area? Send your location, site type and monitoring requirements to discuss service availability.
Check Monitoring Availability →Your questions answered
Understand the difference between camera access and monitoring, and what to confirm before choosing a plan for your property.
No. Remote viewing lets authorized users access supported cameras and recordings. Professional monitoring involves event review and handling within an agreed service scope. Confirm which functions, hours and response procedures your plan includes.
That depends on the camera and recorder models, software, connectivity and required features. Share the equipment details for a compatibility review. If changes are needed, explore our IP camera installation service .
Discuss the schedule your property needs and confirm availability. Any overnight, weekend or 24-hour coverage should be stated in the agreed plan, along with the events reviewed and included response arrangements.
A connection or power outage can interrupt remote access, alerts and monitoring. Local recording may continue in some setups when internet access is lost, provided the cameras and recorder remain powered. Review your system's dependencies and any backup options during planning.
Retention depends on storage capacity, camera count, recording settings and the storage arrangement. Agree on your requirements before setup. Older footage may be overwritten when storage fills, so export needed recordings while they are still available.
Camera count, equipment compatibility, monitoring hours, included event-handling services and installation changes can affect costs. Request a proposal that separates setup costs from any ongoing charges through our quote request page.
Plan your next step
Tell Kancam about your site, camera system and monitoring requirements. Discuss compatible options, service availability and a scope that fits how your property operates.
Keep passwords and private footage out of your enquiry. Access arrangements can be discussed separately.
